Creating Custom Lists
Design your own list that can be directly associated with a form field. Define the rows, columns, and data types that you want to appear in the list. If you're planning to re-use this list, save it as a template, so you can re-use in other returns.
Custom lists will roll over with any returns you roll from last month or last quarter.
The two-part Custom List dialog box allows you to simultaneously:
- Design the list;
- View and edit the list.
You can also choose to save the list as a template to be used on other lines or in other returns.
Custom List Dialog
To open the Custom List dialog box:
- In an open return, open the form to which you want to add the list.
- Move the cursor to the field where you want to add the list.
- Do one of the following:
- Click the Forms menu; then, select Lists; then, select Custom List.
- Right-click; then, select Custom List.
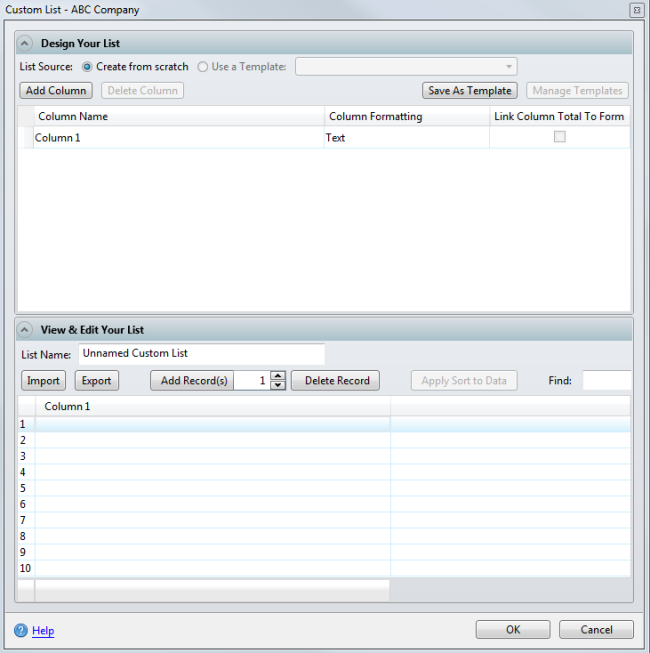
Custom List dialog box
About the dialog box
The Custom List dialog box is made up of two window panes:
Design Your List pane
If you're creating a brand new list from "scratch," the Design Your List pane (top) helps you 1) create the columns you want in your list; 2) determine the format of the data in each column (such as Text, Date, Number, or Percent); and 3) indicate whether or not you want a column's total to link to the form.
View & Edit Your List pane
The bottom pane allows you to view and/or edit the list that you designed in the Design Your List pane. You can also import data from another list (saved in .csv format) and/or export data to a .csv file.
Designing a List from Scratch
To design a completely new Custom List from scratch:
- Follow directions above to open the Custom List dialog box. The Custom List dialog box opens. The Create from scratch radio button is already selected.
- Tab to the first row under the Column Name. Enter the first column's name (by typing over the default text).
- Tab to the Column Formatting field; when the drop-down arrow appears, click the arrow. The list of available formats appears:
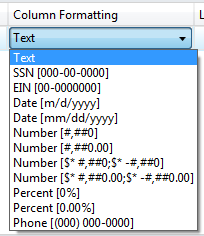
List of available column formats
- Select the type of data format for the information in that column.
- To set up another column, click the Add Column button.
- Repeat steps 2 through 5 for every column.
- (OPTIONAL) If you'd like the total from one column to be linked to the form, click the Link Column Total To Form check box for that column.
Only one column in each list can be linked to the form.
- In the List Name field (in the View & Edit Your List pane), enter a name for your list.
When you're finished setting up your columns, the list should appear in the View & Edit Your List pane:
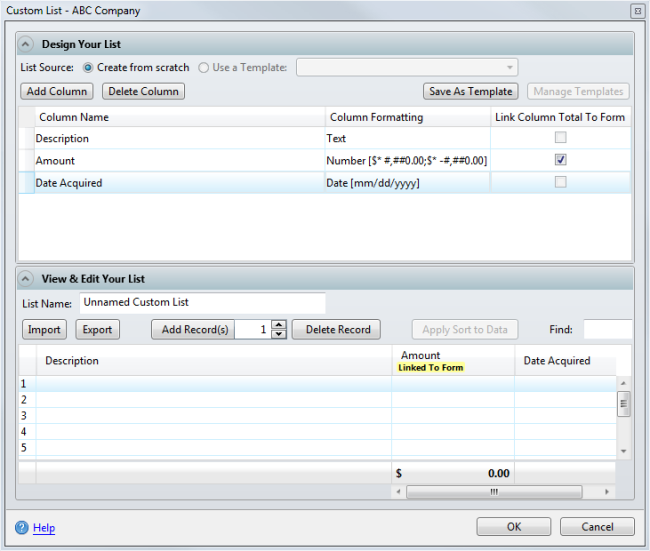
Custom List dialog box, with View & Edit Your List pane
- Click OK to save the new custom list in that field on the form.
The dialog box closes. The list is saved on the field where you entered it. The field background color is turned green, indicating the presence of a list.
Opening a Custom List
To open a custom list:
- In an open return, place your cursor in a field that has a custom list (fields with lists have green backgrounds).
- Do one of the following:
- Click the Forms menu; then, select Lists; then, select Custom List.
- Right-click; then, select Custom List.
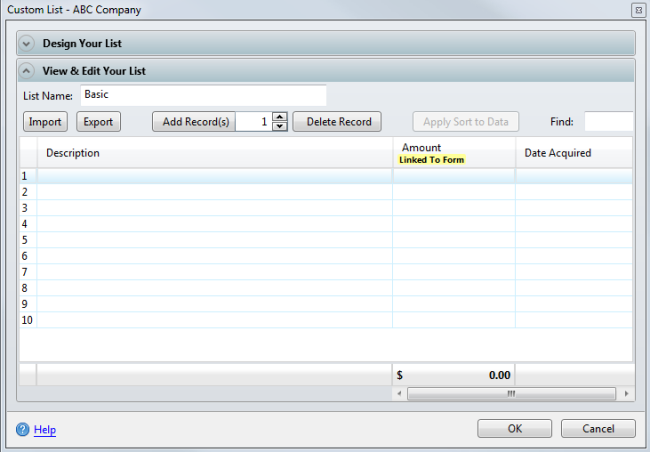
Custom List (with Design Your List collapsed)
Removing a List from a Field
To remove a list that that's been added to a form field:
- In the open return, place the cursor in the field with the list you want to remove.
- Click the Forms menu.
- Select Lists; then, select Remove List.
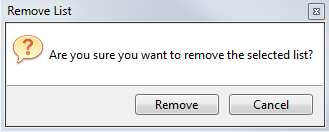
Remove List dialog box
- Click Remove.
Deleting Columns
To delete a list column:
- Click the Delete Column button in the Design Your List pane (top).

Delete Column Confirmation message
If you have entered data in the column you're deleting, you will lose the data.
- Click Delete Column.
Saving a List as a Template
Once created, any list can be saved as a template for use in any return. Users can roll over their own custom list templates from year to year by selecting the Custom List Templates check box at the bottom of the Rollover Manager. See Rollover Other Data.
To save a list as a template:
- From the return, place your cursor on the green field with the list.
- Do one of the following:
- Click the Forms menu; then, select Lists; then, select Custom List.
- Right-click; then, select Custom List.
The Custom List dialog box appears.
- Click the Save As Template button.
The Template Name dialog box appears.
- Enter the name of the template:
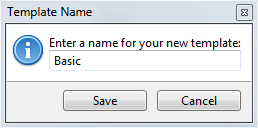
Template Name dialog box
- Click Save.
The List Source has now been changed, and the template appears in the drop-down:

Design Your List pane, template selection highlighted
This template will now be available whenever you open the Custom List feature.
Updating a Template
To update a template:
- Open the Custom List dialog box.
- Click the down arrow beside the Design Your List pane.
- Select the Use a Template radio button.
- From the drop-down list, select the template you want to update:
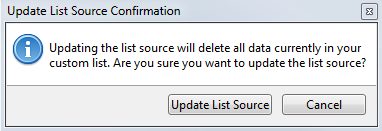
Update List Source Confirmation
- Click Update List Source.
The Custom List dialog box opens.
- In the Design Your List pane, make changes to the columns, data format, or link to form selection.
- Click the Save Template button.
- Click OK.
Managing List Templates
The Manage Templates function allows you to delete or rename a template.
To delete a custom list template:
- From the Custom List dialog box, click the Manage Templates button.
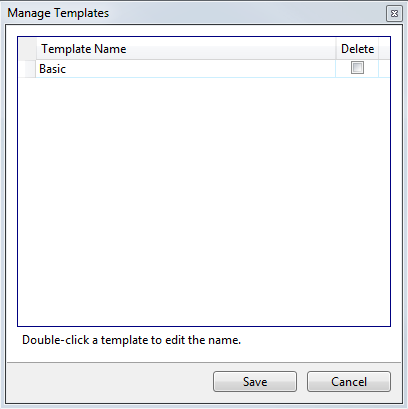
Manage Templates dialog box
- Select the Delete check box for the template.
- Click Save.
To rename a custom list template:
- From the Custom List dialog box, click the Manage Templates button.
The Manage Templates dialog box appears.
- Double-click the template name.
- Type the new name in the field (overwriting the old name).
- Click Save.
Importing Data into a List
You can import data from any file saved in .csv format into a new or existing custom list. See Saving an .xls as .csv.
However, before you import, please note: the number of columns in the import data must match the number of columns in the custom list. If you have the same number of columns, proceed with your import; if you don't, it makes this a two-part process. First, you must set up or adjust the number of columns in the custom list to match the number of columns in the imported data. When this is done, you can then import the data.
Part 1: Setting Up Columns to Receive the Imported Data
Before you begin, you must know how many data columns you'll need in the list to accommodate the imported data.
- Open the Custom List dialog box.
- In the Design Your List pane, click the Add Column button until the number of columns you've added matches the number of columns in the import file.
Part 2: Importing the Data
- From the Custom List dialog box, in the Design Your List pane, click the Import button.
- Select the .csv file to import.
See Importing Data from .csv Files.
Exporting Data from the List
You can export data from a custom list to a .csv file.
To export data from your list, see Exporting Lists.
See Also: